The Ultimate Trick for Clean & Quick Hydrovac Tank Disposal
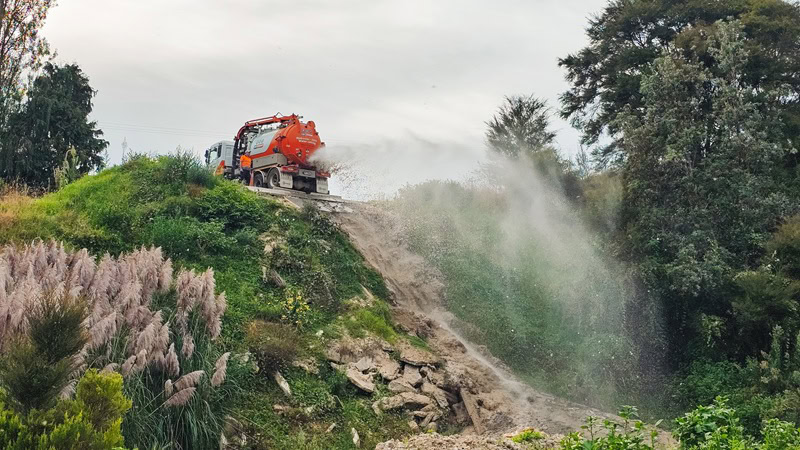
Hydro excavation with an Allvac® unit offers unparalleled precision and efficiency, minimising damage to underground utilities. However, the post-excavation tank disposal process can often turn into a messy and time-consuming problem.
But what if there was a simple, yet powerful technique to streamline this disposal process? Discover how to leverage your Allvac® hydrovac’s unique pressurisation capabilities for effortless and clean slurry discharge, saving you valuable time and resources.
The Allvac® Hydrovac Advantage: Pressurised Tank Disposal
Unlike conventional hydrovacs, Allvac® units boast the remarkable ability to pressurise the spoil tank. This feature unlocks a streamlined disposal process, significantly reducing cleanup time and operator frustration.
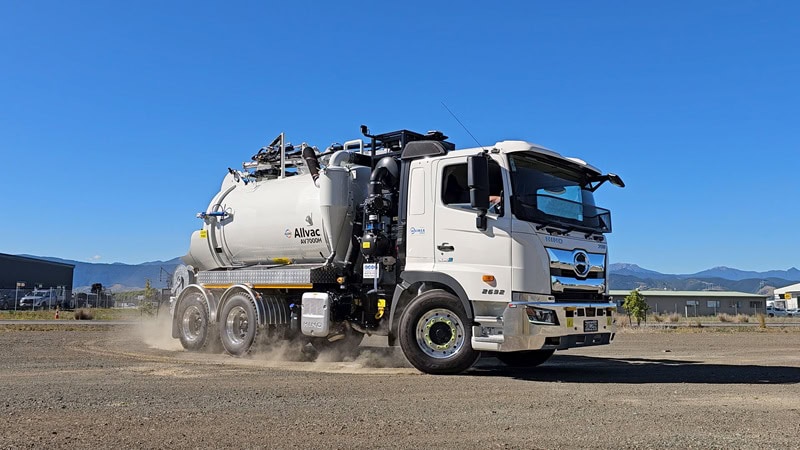
Step-by-Step Guide to Effortless Slurry Discharge:
1. Atmospheric Pressure: This process is simple, first ensure that the tank is at atmospheric pressure before proceeding with this disposal method.
2. Valve Preparation: Carefully remove the dust cap from the 6″ discharge valve. For safety, stand to the side while opening the valve. More often than not the spoil in the tank would have blocked the valve, not allowing for the removal of the slurry.
3. Clearing Blockages: If the valve is blocked by slurry, keep it open and engage the vacuum pump. Position the four-way valve to “vacuum.” This action creates a suction channel through the accumulated spoil in the tank.
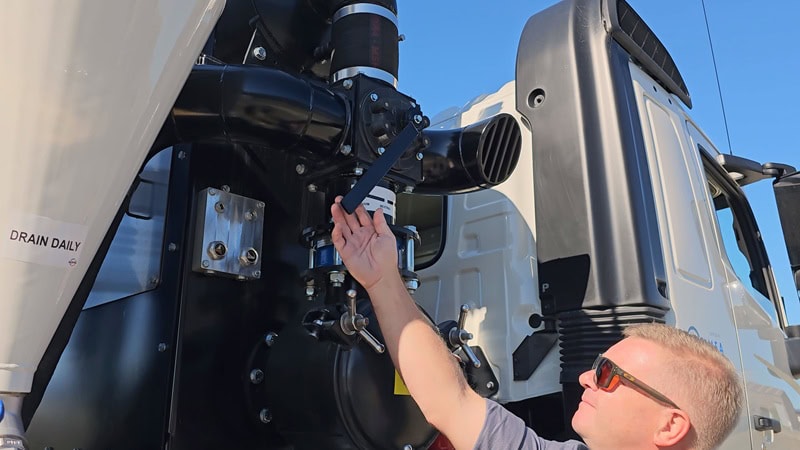
4. Suction and Pressure: Return the four-way valve to “neutral.” If the slurry is still not discharging, place the 4-way valve back into the “vacuum” position and suck a channel through the soil again, this time taking the 4-way valve into “neutral” and then to “pressure”. The liquid/slurry will then discharge under pressure.
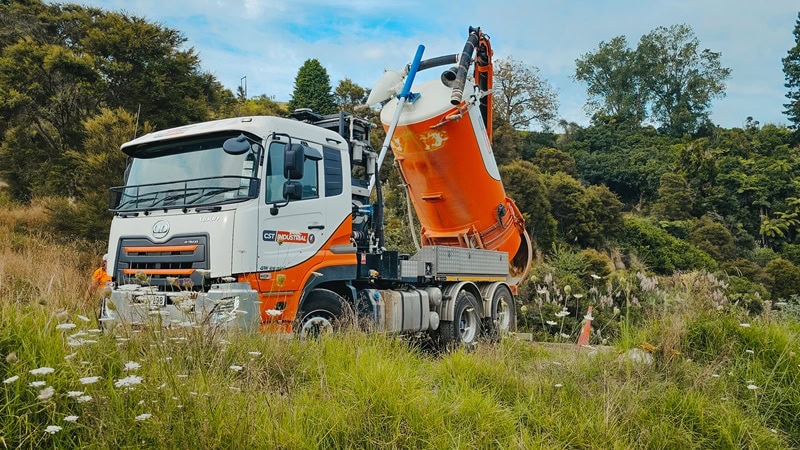
5. Final Discharge/Disposal: Once the liquid/slurry has been discharged, return the 4-way valve to the “neutral” position and turn the vacuum pump off. Raise the hoist enough to disconnect the pipework via the vacuum break. If you are on level ground, the rear door can be opened and the tank raised up to dispose as usual. The above image shows a Waimea Allvac® Hydrovac owned by CST Group demonstrating this cleaner disposal process.
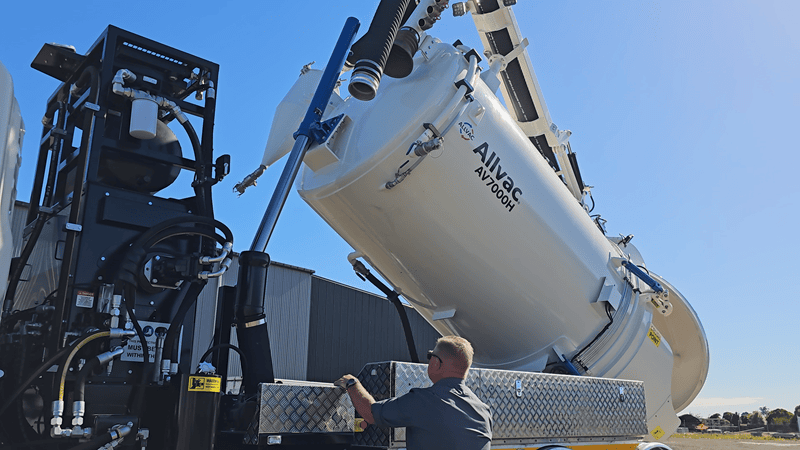
Without the presence of the liquid, the spoil will discharge within the rear scoop of the tank instead of pouring out over the wheels, controls and entire rear of the unit. Less mess made, and less time wasted cleaning it up.
Watch this short video showcasing the quick and easy steps for efficient Hydrovac tank disposal:
Contact Maska Lewis on 0800 60 60 61 to learn more about the specialist Allvac® Hydro excavators we build.

